I spent a long time today belt sanding all of the beam webs down to the pencil line. Then, I stacked them together and sanded everything down flush. They are all pretty even and equal now. To my amazement, I realized that one of the webs was thicker than all of the rest! We couldn't fit all of the webs on one piece of ply like the plan suggests, so we went over Christmas and got another sheet of what was supposed to be 5/8" ply. Well it turns out that this new piece is actually about 3/4". We should have measured it at World Panel I guess? I thought it was safe to assume that a lumber distributor would be organized enough to know what's what in their warehouse. Oh well. Now I am going to cut another web tomorrow from the 3/4" to make things even, and I think we are going to just use this for the mast beam, since it takes additional loading from the mast. I guess that's just one more thing that is beefed up now. I also got all of the butt blocks cut, and after I cut the new web tomorrow, I will glue them all up. Here are some pictures:
Thursday, January 3, 2013
Tuesday, January 1, 2013
Grace cut all of the plywood webs for the beams today, and I (finally) finished all of the fillets for the port hull. I did eight in a row, which took me quite a while. Between the mixing, adding filler, applying, shaping, cleaning, and cleaning tools, the fillets really end up taking a good amount of time. I'm trying to be pretty hard on myself with the fillets, as we are finishing the cabins bright instead of painting, but we are overall going for a workboat finish. We want to spend more time sailing and not staring at some tiny details! The exterior is where the serious fairing will take place. All I have to do now is glass tape all of the fillets in my hull before I can final coat the bilges and start fitting the bunks. We are going to paint the buoyancy chambers and anchor lockers white for better visibility in each.
Plywood Web for Crossbeams and Panel for the Windvane
Fillets are Finally Done! All of the white is just sanded epoxy. It will all go nice and clear again with the final coat.
Now to repeat all of this work on the starboard hull :(
Monday, December 31, 2012
Well today we lofted up most of the parts for the wind vane and the middle sections of the beams. I spent the afternoon climbing, so we didn't get too much done. Tomorrow we are going to cut everything and get it sanded down to precise size. We hope to get to cut the stiffeners for the starboard hull as well. There wasn't really anything to take pictures of today except for a bunch of lines on sheets of plywood. Tomorrow I'll take pictures of everything once it's cut out. In the meantime, here's a picture of what the (hopefully) near future will hold for us. This is my friend Brandon Gamble's Tiki, Element. Thanks Brandon for all of your hospitality on our trips to sail Element!
Wednesday, December 26, 2012
We have been working at a decent rate over Christmas break. I have been doing all of the bulkhead fillets for my (port) hull. These fillets seem to take forever, but I think I finally have my system tuned well enough to avoid the rage and frustration that was felt earlier on. The fillet mixture is like peanut butter and it sticks to everything and drips and goes everywhere! Now that I have figured out how to keep this most unsavory mixture under control, my progress with each is seemingly more efficient. I only have eight more to do tomorrow! Grace has been getting her bulkheads ready to go in, and we should be able to stitch them in tomorrow. We have her hull stitched and hanging, and we also rearranged the hulls so that port is on the left and starboard on the right side of the garage. Before I had my port hull over on the right. When moving my hull, we were both surprised at how lightweight it still is. The plans say that a complete hull should weigh in at around 175 pounds. We also went on an overnight sail on Sunday night with our Montgomery 15. We had the lake to ourselves, and it only got down to around forty degrees. The Montgomery is a fine vessel, but it's slow monohull speed had us dreaming of our future with the Tiki.
Anchor locker fillets
Fillets
The second hull is ready for it's bulkheads
Thursday, December 13, 2012
Working on Hull 2
I had to go out of town last week for some work, so the boat didn't really get any attention. This week, however, I have gotten back to working pretty conisistently. The goal for this week is to get my port hull filleted and to go 3D with the starboard hull. We glued up the sheerstringers for the second hull, and I am making the keel today. I also added the backing pads for the front beam and the shroud pads to the port hull. The stem and skeg are already shaped and sanded, so once I get the keel done I can stitch up the hull. The bulkheads always seem to take so much work between the gluing of bunk and deck braces, coating, sanding, etc. The only thing holding me back with these is the pre-notched deck braces. These are fitted on the forward and aft side of the cabin section. All of the other braces are flush with the top of the bulkheads, so I only have to cut the excess and belt sand them flush along the curve. However, these pre-shaped braces have to be, well, pre-shaped and notched before being glued on. I don't know why I hate making these so much. It's a toss up between using the table saw and making pre-notched deck braces. On a lighter note, our mast arrived last week, and I must say that a mast failure seems completely improbable. This beefy piece of aluminum has a 4" outer diameter with 1/8" thick walls. All we have to do is cut 2.5' off of the tube and get a plate welded on top with a tang fore and aft for main and spinnaker halyards. Our main sail is a "wing sail" designed by Wharram. It uses no track and has a sleeve that wraps around the whole mast. Anyways, here are some pictures...
Endless Stirring!
Backing pads. The forward compartment there is for sealed buoyancy, and the hole will be fitted with a 6" diameter inspection/deck plate.
Once again, the mast is burly
Endless Stirring!
Thursday, November 29, 2012
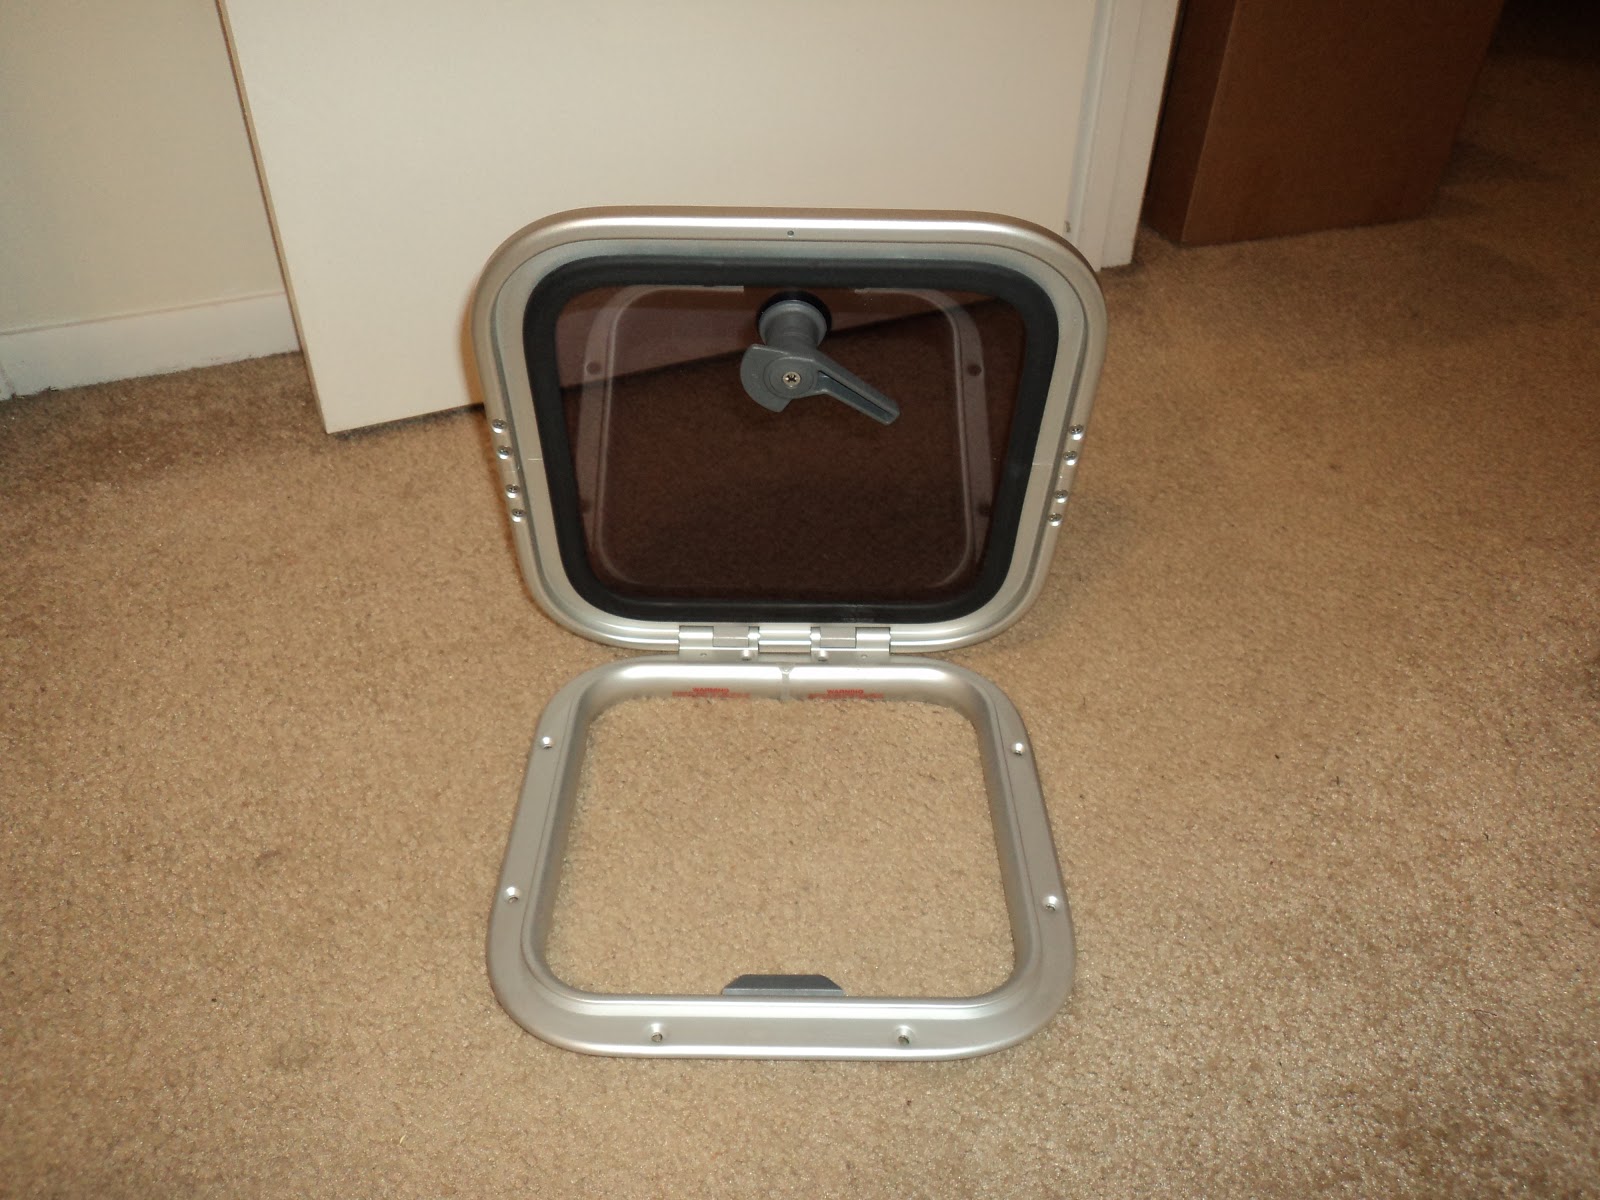
I spent a very very long time working on the keel fillets. You have to make a lightweight mix first that sinks down into all the cracks. Then, you fill multiple times until you have around a 1/2" layer over the keel. In the morning, I'll put the last layer in, make it a nice pretty fillet, and then apply the glass cloth over it. Grace helped mix epoxy tonight, so we could have one ready after the other. It saved a lot of time. We also got our ventilation hatches in. These will go on the cabin top, forward of the dodger, and they will allow nice airflow through the bunk area. They are Lewmar Low Profile hatches.
We bought Bill Belcher's book on Wind Vanes. It is out of print, so it was a little expensive. However, it will allow us to build a sweet vane that will allow us many hours of not touching the tiller!
Subscribe to:
Posts (Atom)